- Home
- Cabinet Refinishing
- Cabinet Painting
- Before & After
- DIT Cabinet Painting
- About Us
- Blog
- Contact
- Lewiston, ID Cabinet Refinishing
- Moscow, ID Cabinet Refinishing
- Orofino, ID Cabinet Refinishing
- Grangeville, ID Cabinet Refinishing
- Kamiah, ID Cabinet Refinishing
- Post Falls, ID Cabinet Refinishing
- Coeur d’Alene, ID Cabinet Refinishing
- Sand Point, ID Cabinet Refinishing
- Riggins, ID Cabinet Refinishing
- McCall, ID Cabinet Refinishing

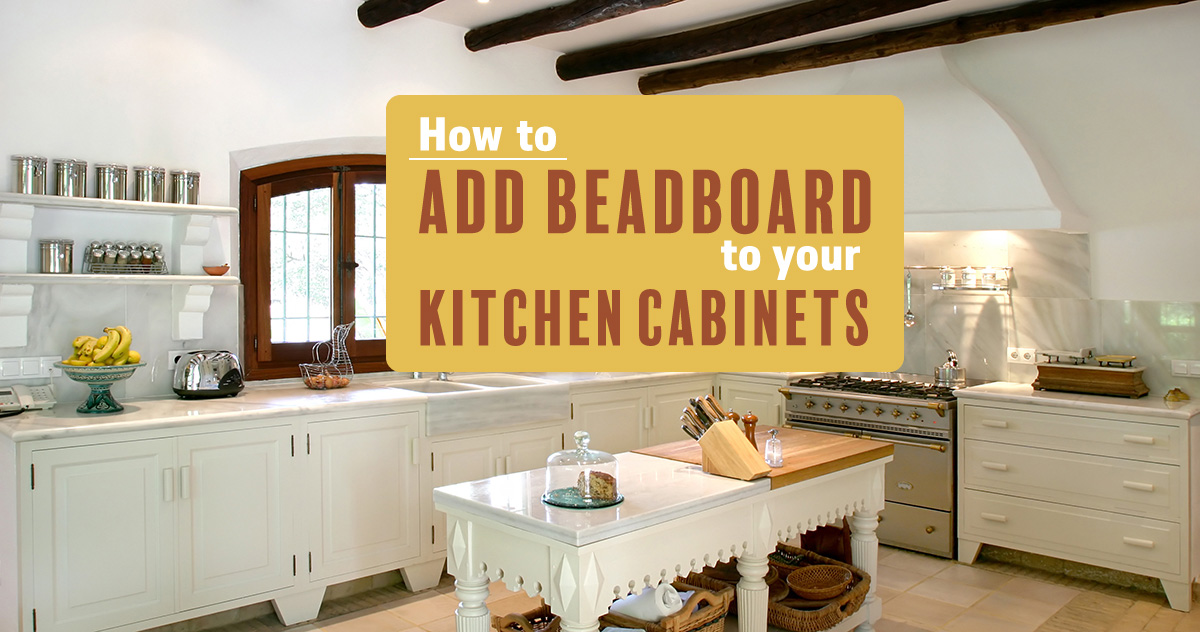
Adding beadboard to your kitchen cabinets has become more popular for country, cottage, and farmhouse style kitchens. But you don’t need to get all new cabinets to get this look. You can add beadboard to your kitchen cabinets yourself. Here’s how.
- Measure Your Cabinets and Beadboard
- Sand the Doors
- Cut the Beadboard
- Attach the Beadboard
- Apply Caulk
- Paint or Stain the Beadboard
- Attach the Cabinets
Before you purchase the beadboard measure each cabinet individually in case they are slightly different. You’ll only have to measure where the beadboard will be added, such as the middle panel area. Once you have the measurements of all the cabinet doors, you can figure out how much beadboard you’ll need to purchase and measure from there. Depending on the style of your drawers, you can add beadboard there as well or leave it without it.
Remove the cabinet doors from their hinges (be sure to label which hinges go on which cabinet doors), remove the handles, and lay them on a flat surface. Clamp them down to a flat surface and sand the surface of the doors where the beadboard will be attached. This is necessary to remove any finish that the adhesive might not be able to bond to.
Get all your individual measurings of your kitchen cabinets and mark on your beadboard where to cut it. Clamp the beadboard down to a flat and secure surface. Use a table saw or a jigsaw to cut the beadboard. If you are cutting all the beadboard at once, be sure to mark which cuts go to specific cabinet doors and drawers.
Use adhesive to attach the beadboard to the cabinet doors and drawers. You can apply either to the back of the beadboard or the front of the cabinets. Once the adhesive is applied, place the beadboard on the cabinet door and push down. Move the beadboard to the left and right slightly so the adhesive spreads and works better. Make sure all the edges are lined up and let the adhesive dry.
Use clear silicone caulk to fill in any gaps that may appear between the beadboard and the cabinet. Once it has dried, use sandpaper to sand it down smooth.
As you’ve probably noticed, beadboard typically comes unstained and unpainted. Use a brush to apply paint or stain to match your cabinets.
Once everything has dried, you can attach your cabinets back to your cabinet boxes in your kitchen. Use your labeled hinges to put them back how you had them before. If you are getting new hardware, check out our tutorial on how to install it.
Sound Finish Professional Cabinet Painting and Refinishing Services
Sound Finish Provides the highest quality cabinet coatings in the industry because cabinet coatings are our primary focus and our specialty. With 20+ years of experience, our unique system paints your kitchen cabinets in 3-4 days!
Learn more and schedule a consultation today!
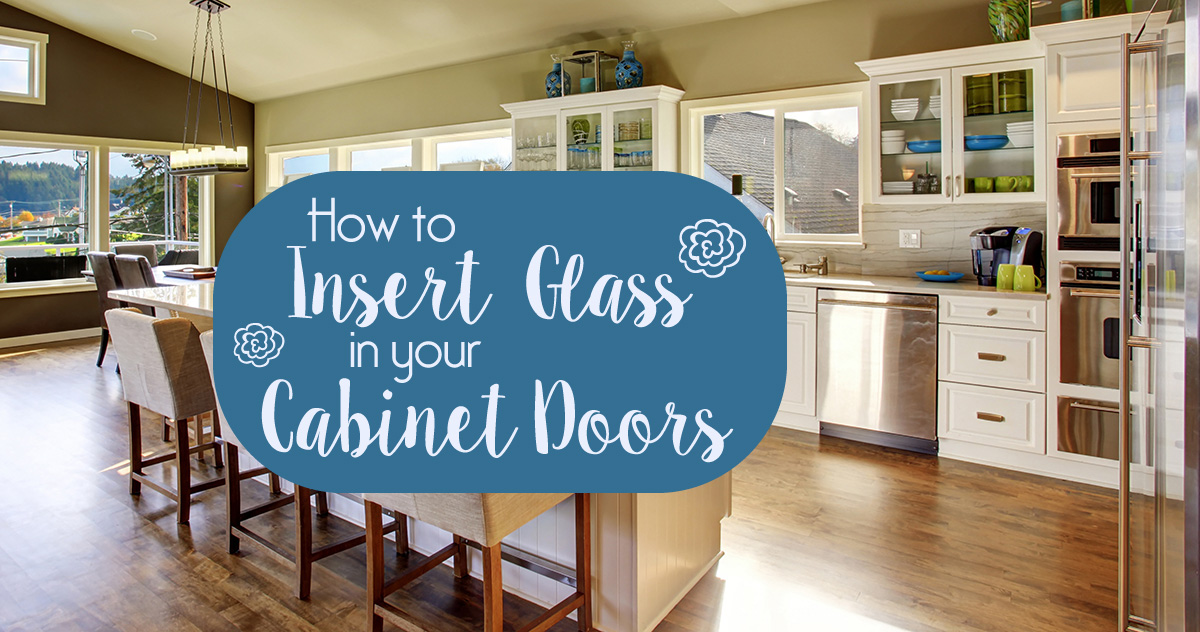
If your kitchen feels small and cramped, then inserting glass into your cabinet doors could help it. By removing the wood panel and replacing it with glass, it can make your kitchen look and feel bigger. Inserting glass into your cabinet doors can be tricky but it’s definitely DIYable.
Here’s what you’ll need:
- Cabinet doors that have a panel insert
- Plexiglass
- Plastic cutting knife
- Clear silicone
- Carpenter’s square or straightedge
- Circular saw or jigsaw
- Painters tape
- Trim molding (optional)
- Remove the Center Panel
- Measure for the Glass
- Cut the Plexiglass
- Attach the Glass
- Add Trim Molding
- Reattach Your Cabinet Doors
To remove the center panel of your cabinet doors, you’ll have to take them off the hinges first. Once that is done, use the carpenter’s square, a pencil, and painter’s tape to mark where you need to cut out the panels. If you’re using a jigsaw, you’ll need to drill holes with a drill bit to have a place to put the jigsaw blade. Once you have the tape lined out so you know where to cut, cut out your center panels.
You need to know how big to cut the plexiglass. Measure the area you cut out plus the edges that are left so you have somewhere to attach the glass too.
Use your plastic cutting knife to cut the plexiglass to your measurements. Use a board or a yardstick as a straight edge to make the cut perfect.
Apply the clear silicone to the front inside edge of the cabinet door where you cut out the panel. Insert the plexiglass in and let it dry.
If you used a jigsaw then there may be edges that don’t look smooth with the glass added to your cabinet door. To fix this, use trim pieces to hide it. Cut the trim to frame around the inside edge of the glass panels. Then cut another set in reverse for the backside of the cabinet doors (since you’ll be able to see inside them now). Prime and paint the trim molding pieces to match your cabinet color. Use the silicone to attach the pieces.
Once everything has dried and is set, reattach your cabinet doors and enjoy your updated kitchen!
Sound Finish Professional Cabinet Painting and Refinishing Services
Sound Finish Provides the highest quality cabinet coatings in the industry because cabinet coatings are our primary focus and our specialty. With 20+ years of experience, our unique system paints your kitchen cabinets in 3-4 days!
Learn more and schedule a consultation today!
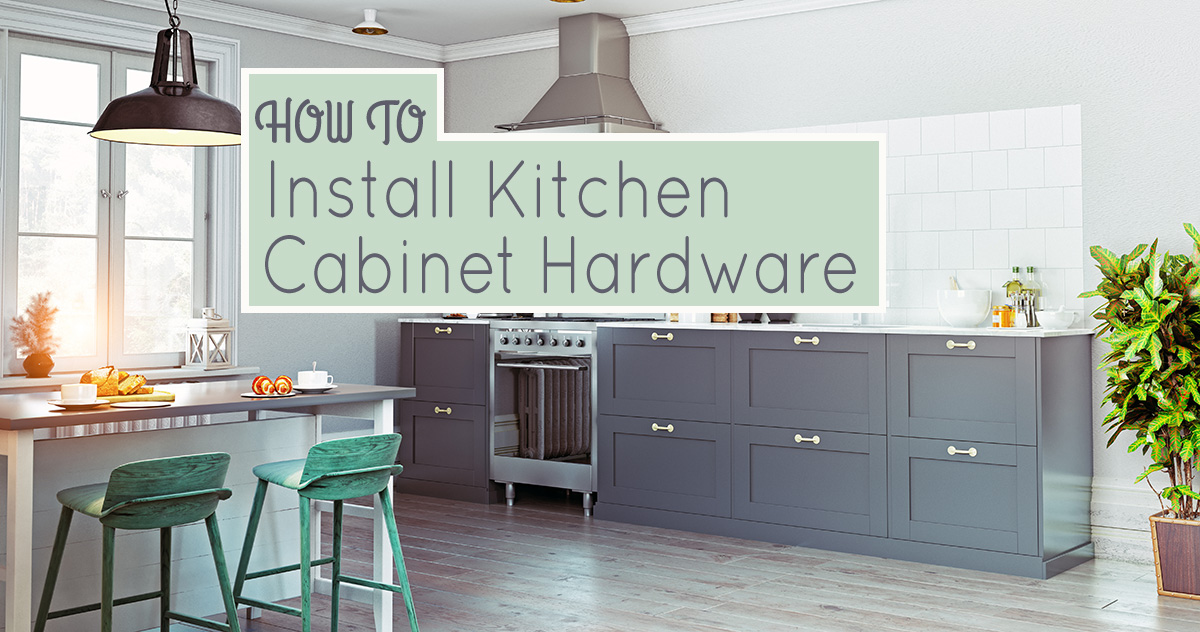
If you’ve decided to take on the DIY project of painting your own kitchen cabinets, then you’ll need to know how to remove and install kitchen cabinet hardware. There are tricks you should know so that your cabinets hang straight and your hinges open smoothly. Here’s how to install kitchen cabinet hardware.
First you need to gather the supplies you’ll need.
- Drill & drill bits
- Cabinet jig – you can get these on Amazon or at your hardware store in town
- Your new hardware – If you don’t know which style or finish to go with, check out this post about all things hinges!
Now that you’ve got what you need to install your cabinet hardware, here are the crucial steps you’ll need to take to do it right.
- Remove Your Current Hardware
- Use Your Cabinet Jig
- Attach the Hardware
- Do the Same for the Drawers
Of course, you’ll have to remove your current hardware to install the new set. But if you want to keep your old hardware and paint it to change it up then you’ll need to label the cabinet doors and hinges and hardware accordingly. Over time, your hinges move a certain way when cabinet doors are being opened and closed. So if you attach a hinge to a different place, the cabinet won’t open and close properly.

The cabinet jig is a great little tool to make lining up the hardware holes on your cabinets more accurate a lot easier. Generally, you’ll want to use the same holes as your previous hardware used, so you don’t end up with unused holes all over your cabinets. If you’ve redone your cabinets or have new ones and don’t need to worry about the old holes anymore, then you are free to choose where the hardware holes go now.
Not sure where your cabinet hardware should go? Refer to this chart to see what’s best for your kitchen cabinets.
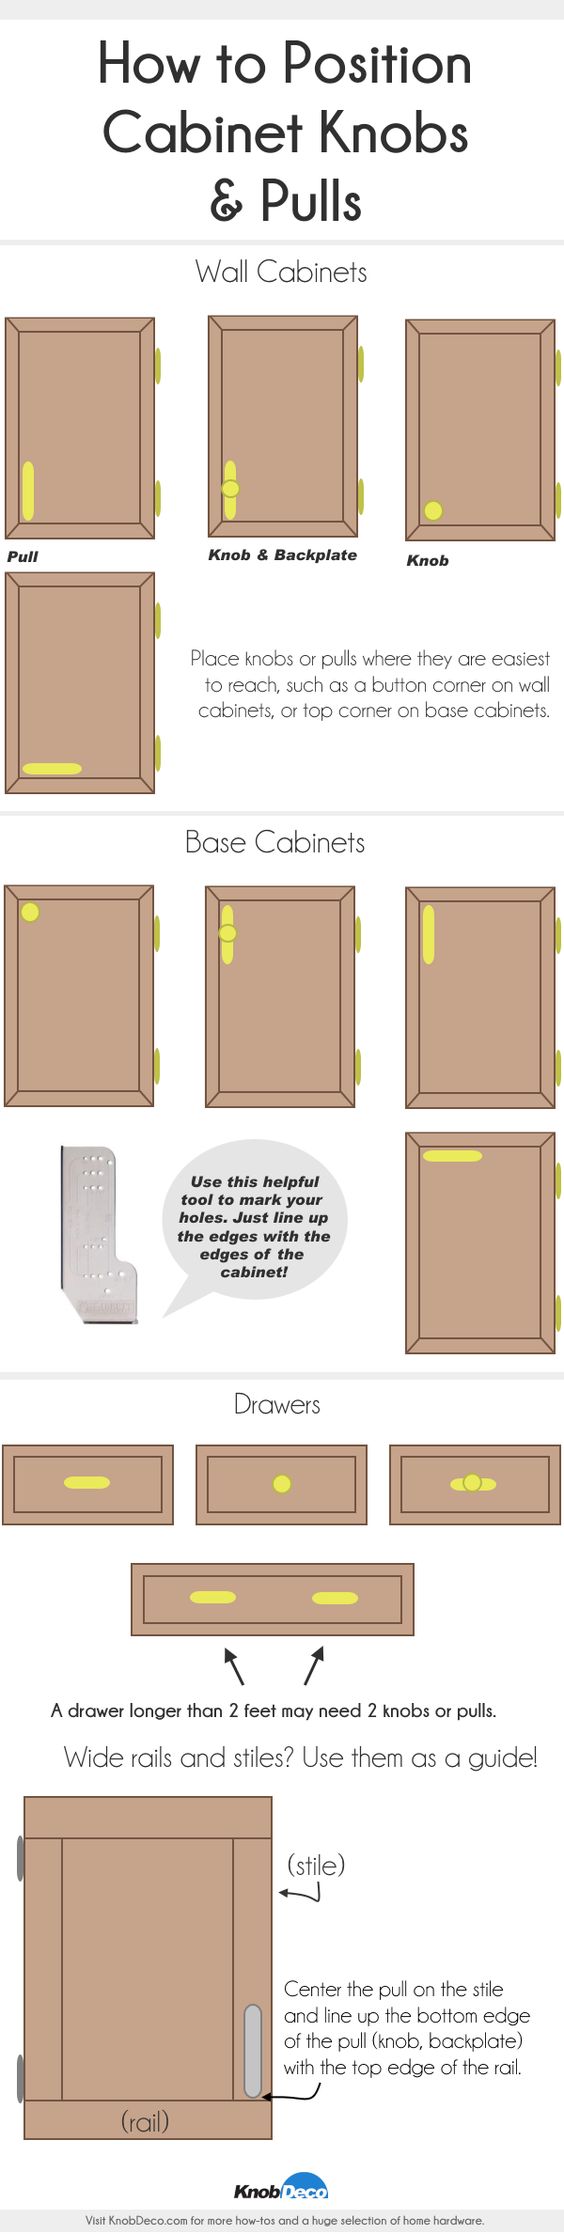
Line up your cabinet jig with the cabinet door (your doors should be hanging level in order for this to work). Choose where you want your hardware to go and use the drill bit to drill your holes. Make sure you are using the appropriate size. You don’t want the holes to be too big. Start small to be safe, then gradually increase the size until it’s the right one for your screws.

Once the holes are drilled you can insert the screws and attach your hardware. With the cabinet jig, it makes it easy so your knobs and pulls are straight and lined up with each other perfectly.
There is a separate cabinet jig for the drawers as well. It works the same way as the cabinet doors one. Align, drill, attach!
Sound Finish Professional Cabinet Painting and Refinishing Services
Sound Finish Provides the highest quality cabinet coatings in the industry because cabinet coatings are our primary focus and our specialty. With 20+ years of experience, our unique system paints your kitchen cabinets in 3-4 days!
Learn more and schedule a consultation today!
If your kitchen is in need of some serious remodeling then DIYing can be crucial to saving some money. There will probably be some things you’ll need to hire a professional for, but the more you can do yourself, the more money you’ll save. Here are some of our favorite DIY tutorials for an outdated kitchen.
- Paint Kitchen Cabinets
- Installing Cabinet Hardware
- Insert Glass into Cabinet Doors
- Adding Trim to Kitchen Cabinets
- Beadboard on Front of Cabinets
The DIY Network tends to be a reliable place to learn how to DIY, and painting your kitchen cabinets is a very popular DIY project right now. It takes a lot of time and effort and even some skill, so be patient. Here is our favorite DIY kitchen cabinet painting tutorial from the DIY Network – See the tutorial!
Installing cabinet hardware can be tricky. It’s important to know exactly how to do it so you don’t end up with crooked hardware. Once you’ve chosen the hardware you want to install, check out this tutorial on how to install it!
It’s becoming more and more popular to open up the kitchen and make it feel bigger. One way to do that is by putting glass inserts in your kitchen cabinet doors. It’s a bit of a process, but it can be worth it. Before you start, make sure you’re only doing the cabinet doors that you definitely want to display the items in. Check out the tutorial from HGTV!
If your cabinets are from the 50s or 60s, then it’s likely that they are flat and boring. Adding a simple straight-lined trim can really make a huge difference to your kitchen cabinets. This blogger, from Naptime Decorator, put together a great tutorial of her kitchen cabinets before and after the trim was added. Check it out!
This design works great for cottage style kitchens. It adds texture and draws focus to the cabinets in your kitchen. There are a couple of ways to get the look, but the tutorial we like the most adds real beadboard to the cabinets instead of using a wallpaper. The wallpaper works too, but the real beadboard will be more sturdy and easier to clean. Check out the tutorial!
Sound Finish Professional Cabinet Painting and Refinishing Services
Sound Finish Provides the highest quality cabinet coatings in the industry because cabinet coatings are our primary focus and our specialty. With 20+ years of experience, our unique system paints your kitchen cabinets in 3-4 days!
Learn more and schedule a consultation today!
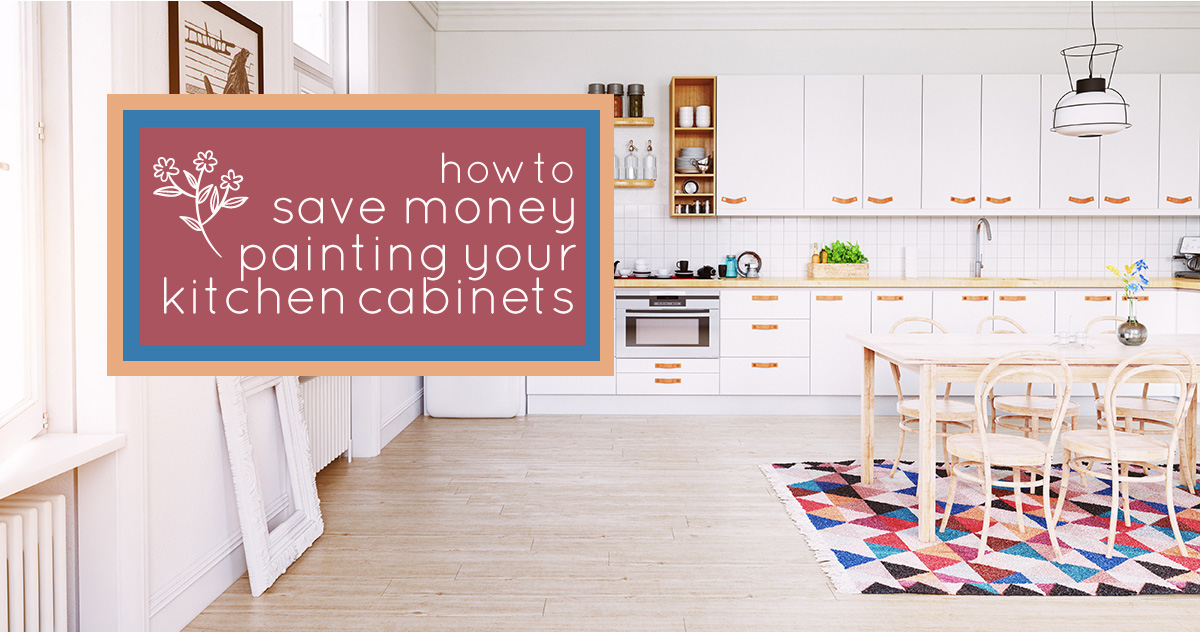
As you probably know, kitchen remodels are expensive. So finding ways to save money will help you stay within your budget. In most cases though, it’s hard to cut corners on your kitchen remodel without it showing. Quality products tend to look better and give your home more value.
But what if there was a way to get professionally painted kitchen cabinets for half the price? Nope, I’m not talking about DIY; I’m talking about DIT. It stands for Do-It-Together. Sound Finish is a professional cabinet painting company that came up with this idea to save you money and still get the professionally painted kitchen cabinets that you are looking for.
DIY takes a lot of time, space, and skill to pull it off – and not very many people are able to do it. But with DIT, you don’t need the skill or the space to get your kitchen cabinets painted. Here’s how it works.
- Choose Your Paint
- We Remove Your Cabinet Doors and Drawer Fronts
- We Take Your Cabinet Doors and Drawer Fronts With Us
- You Paint the Cabinet Boxes
- We Bring Back Your Doors and Drawer Fronts Painted and Ready to Install
You choose your own paint color for your cabinets. However, Sound Finish will recommend the correct brand of paint and where to purchase it. By doing this, we can offer a discount so you will be getting premium quality paint at a lower price.
Schedule a time for Sound Finish to come remove your doors and drawer fronts. Sound Finish will give you an hour training and access to tutorial videos on how to clean and paint your cabinet boxes.
Sound Finish will take your cabinet doors and drawer fronts at the scheduled time to our spray shop. We will also take with us one gallon of the paint that you have purchased. This is to ensure that we are using the exact same paint and color.
Most people can only paint on the weekends, so we’ll allow enough time to paint your cabinet boxes. Don’t worry! Our high-quality series of videos show you exactly how to tackle each step of the process. Plus, we will provide all the tools you will need to get the job done. That’s what D-I-T means; we really are going to partner with you and Do It Together. The whole process should take about two weeks. Did we mention that we’ll be doing 90% of the work?
After two weeks, Sound Finish will return your completed cabinet doors and drawer fronts to you. At the time of delivery, we will go through and inspect them with you to ensure nothing was damaged in transit. We will then reattach the doors and drawer fronts where they were originally. Your DIT kitchen will then be complete!
To get started visit our DIT page or Fill Out the Contact Form Below!
Sound Finish Professional Cabinet Painting and Refinishing Services
Sound Finish Provides the highest quality cabinet coatings in the industry because cabinet coatings are our primary focus and our specialty. With 20+ years of experience, our unique system paints your kitchen cabinets in 3-4 days!
Learn more and schedule a consultation today!
Kitchen upgrades can get expensive fast ranging from $18,000 for a small kitchen to over $50,000 for a large luxury kitchen. That is a lot of money to spend all at once. There are a lot of kitchen upgrades that you can do on a budget by doing them yourself.
- Display Fresh Flowers
- Add Beadboard
- Upgrade the Lighting
- Change the Countertops
- Install a Backsplash
- Paint Your Cabinets
Fresh flowers can be used to freshen up any room in your house, and they will usually last about a week. It’s an easy and simple way to make your kitchen look new and clean. You can either cut them from your garden or find them at a grocery store.
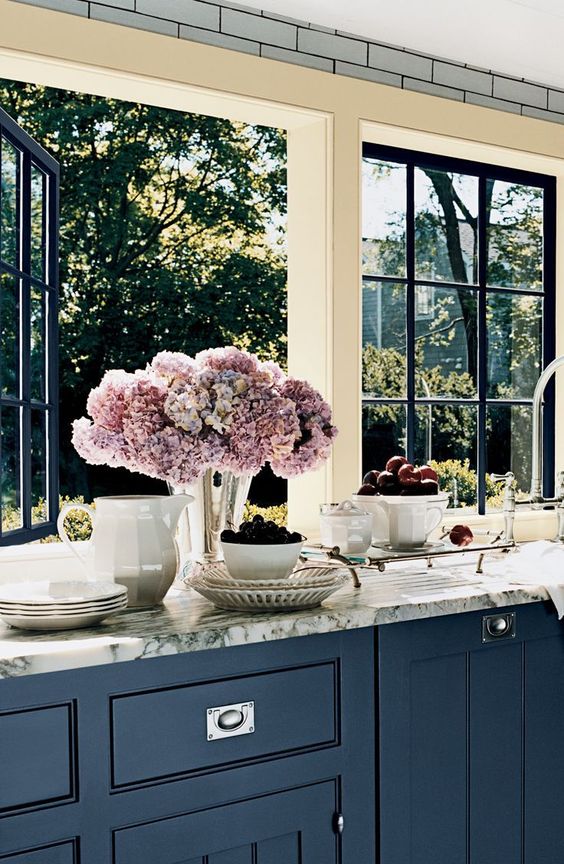
Fresh Flowers in Kitchen
This simple upgrade can be done yourself and make a huge difference in your kitchen. Beadboard can be added to an island, peninsula, or anywhere that is a plain wall with no cabinets. There are kits you can buy that come with top and bottom molding.

Beadboard Accent
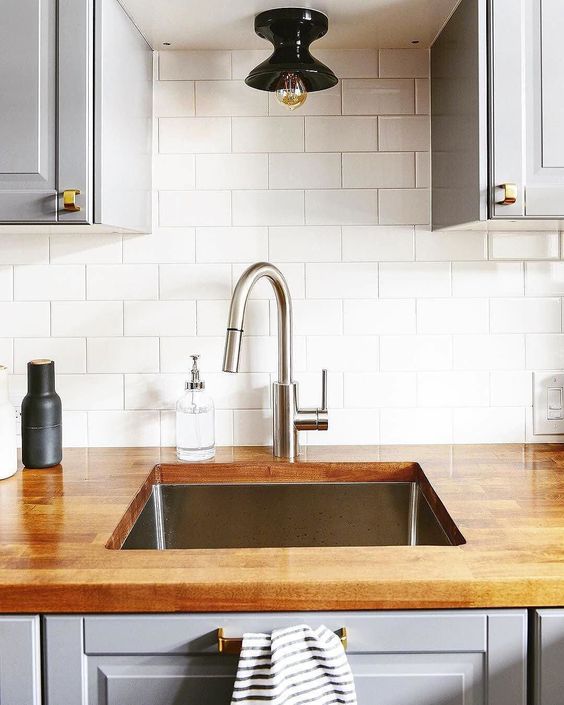
Upgraded lighting instantly makes a kitchen look new. Instead of fluorescent tubes, replace it with hanging pendant lights or recessed lights. A pendant light over the sink will add color to the kitchen while also providing beneficial light.
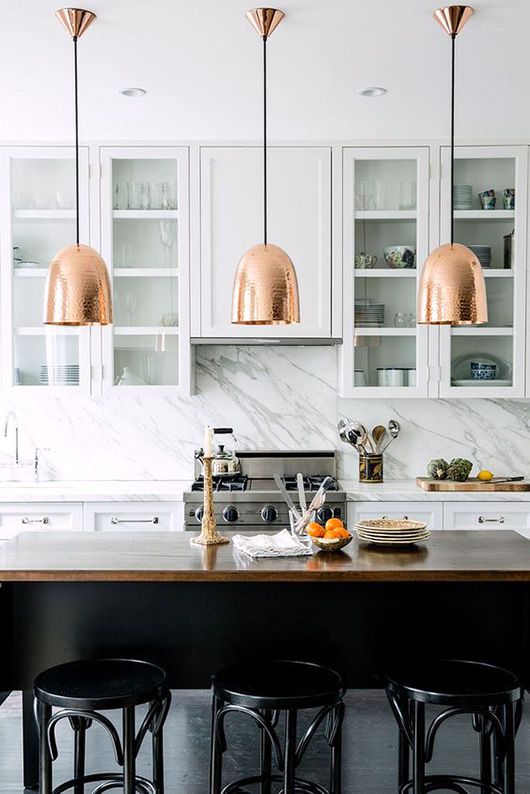
Pendant Lighting
Replacing your current countertops with something new doesn’t have to cost a ton of money. There are a lot of upscale laminate countertops that mimic the look of marble. Or you can go with a cottage look and put in butcher block. Butcher block can add warmth if your kitchen is all white or gray.
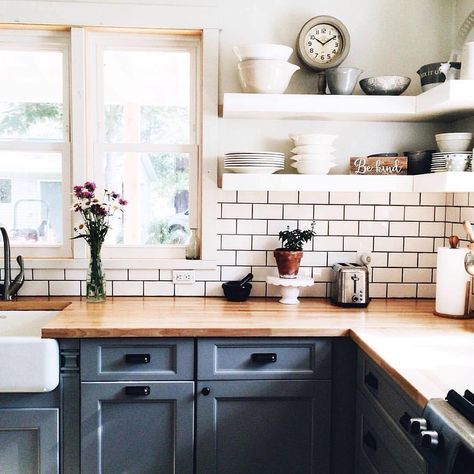
Butcher Block Countertop
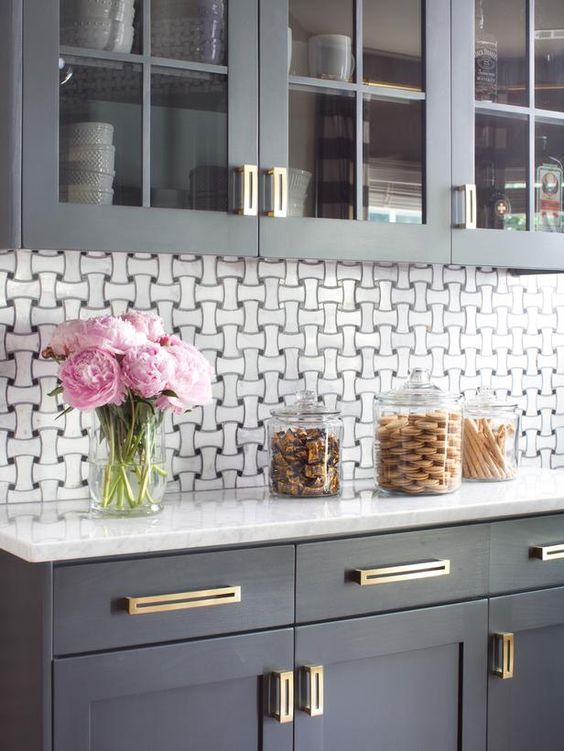
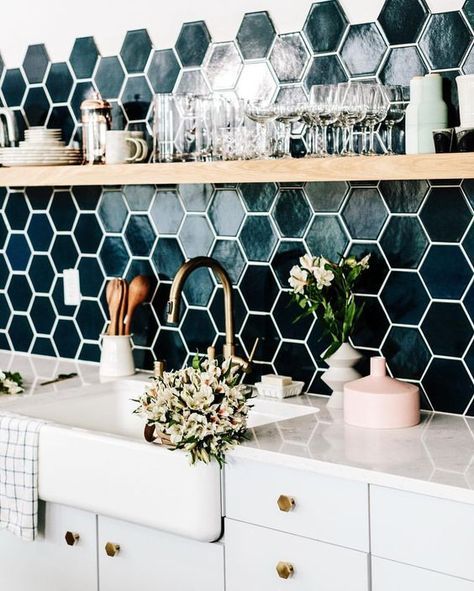
If your backsplash is outdated, then your entire kitchen will likely look outdated. There are easy to install backsplashes such as subway tile or beadboard. Arabesque shape mosaic tile is also very popular right now and comes in a variety of patterns and colors.
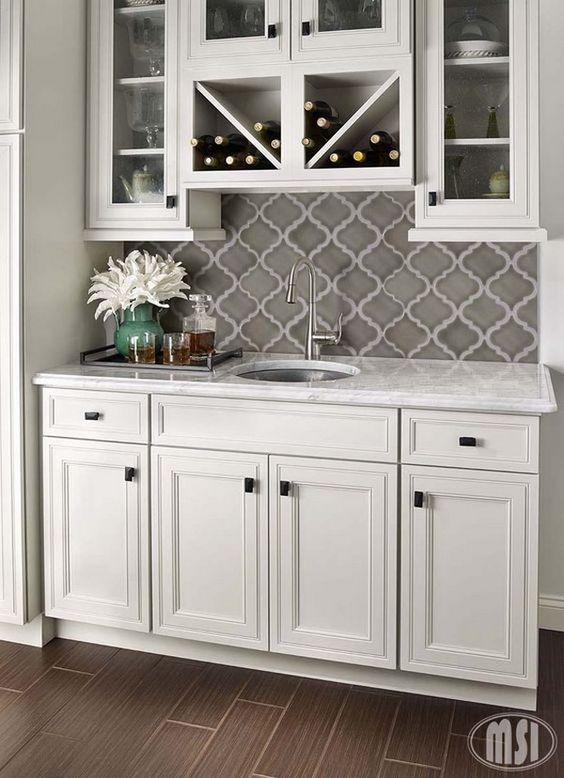
Arabesque Tile Backsplash
If you have old oak kitchen cabinets a few coats of paint can make all the difference. While painting your cabinets is a more costly expense, it is worth it. Be sure to avoid the common cabinet painting mistakes, and if you do not feel as if you are able to take on the job then hire a professional. It will cost a lot less than replacing or refacing your kitchen cabinets, and they will look brand new.
Painted Kitchen Cabinets
Sound Finish Professional Cabinet Painting and Refinishing Services
Sound Finish Provides the highest quality cabinet coatings in the industry because cabinet coatings are our primary focus and our specialty. With 20+ years of experience, our unique system paints your kitchen cabinets in 3-4 days!
Learn more and schedule a consultation today!
Whether you’ve already painted your cabinets or your kitchen remodel is just starting, there’s one part of the remodel you don’t want to forget – the hinges. Changing the hinges on your cabinets can be the finishing touch on your remodel or the only thing you change to transform your kitchen. If you have maple wood cabinets and have thought about painting them, consider just changes the hinges (and maybe a few other things). Click here to see how to update your kitchen while keeping your maple cabinets. No matter what you choose to do with your kitchen cabinets, be sure to change out the hinges to easily update your kitchen. Here are some of the most popular styles for kitchen cabinet hinges.
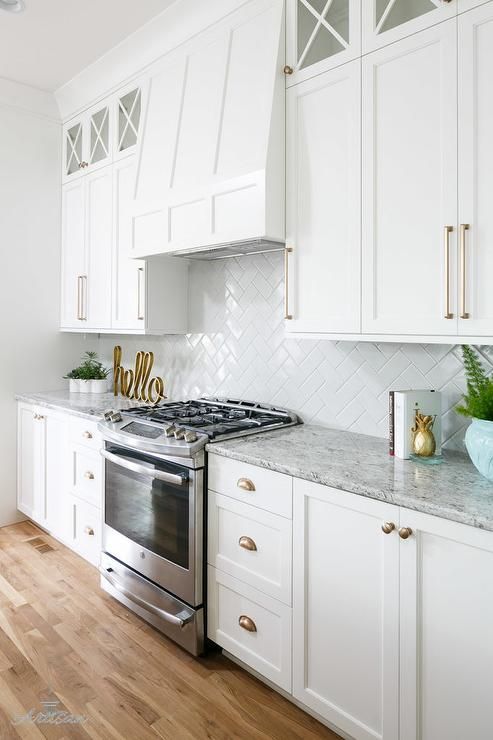
Gold is Making a Come Back
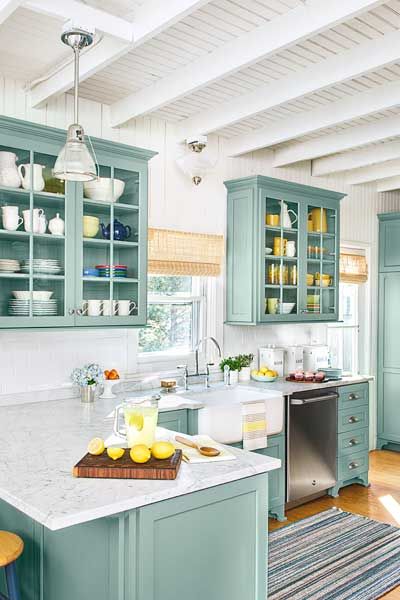
If your cabinets are painted a light green or dark blue, then gold may be the color you are looking for. Gold hinges and hardware on these color pops and adds trendy style to your kitchen cabinets. When you change your hinges and hardware make sure you are changing your faucet to match as well.
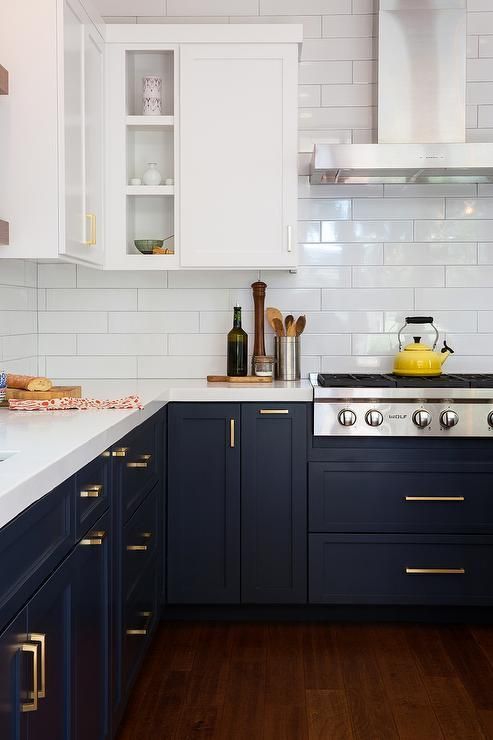
Gold Hinges and Hardware
Dark Matte Hinges are the New Trend
Dark, matte (not shiny) hinges and hardware are very popular right now. This color and style of hinges can work on almost every color of kitchen cabinets but looks particularly good on wooden cabinets. If you have those old maple wood kitchen cabinets, then a dark, matte hinge and hardware choice will work perfectly for you.
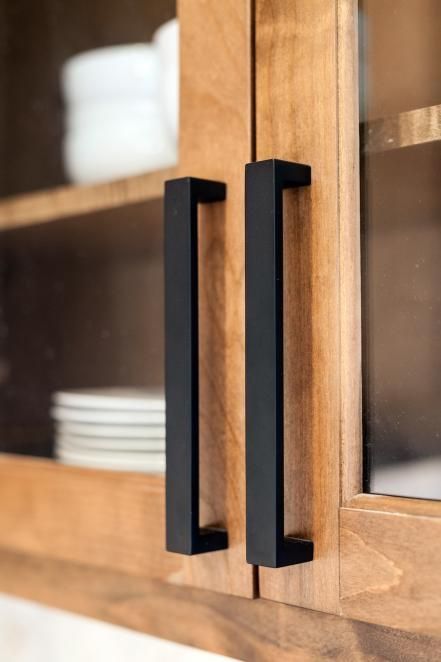
Matte Black Hardware
Hinges for Gray Cabinets
There are a lot of color options for the hinges on gray cabinets, but it depends on the shade of gray you’ve chosen. A lot of people go with the traditional silver hinges and hardware, but you can also go with gold or black.
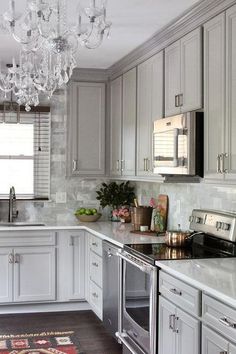
Silver Hinges & Hardware
Most Popular Style of Hinges and Hardware
While the color is very important when choosing your hinges and hardware, the style is important too. The trendy style right now is to avoid knobs and get handle bars instead. The bars are larger and make the hardware stand out more. While some people still go with the half-moons, they are becoming less popular as well.
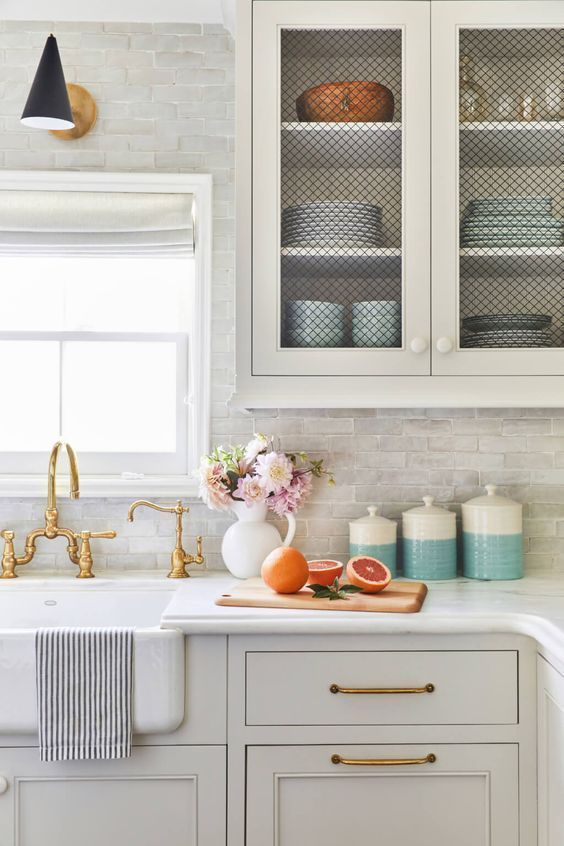
Bar style Hardware & Hinges
Sound Finish Professional Cabinet Painting and Refinishing Services
Sound Finish Provides the highest quality cabinet coatings in the industry because cabinet coatings are our primary focus and our specialty. With 20+ years of experience, our unique system paints your kitchen cabinets in 3-4 days!
Learn more and schedule a consultation today!
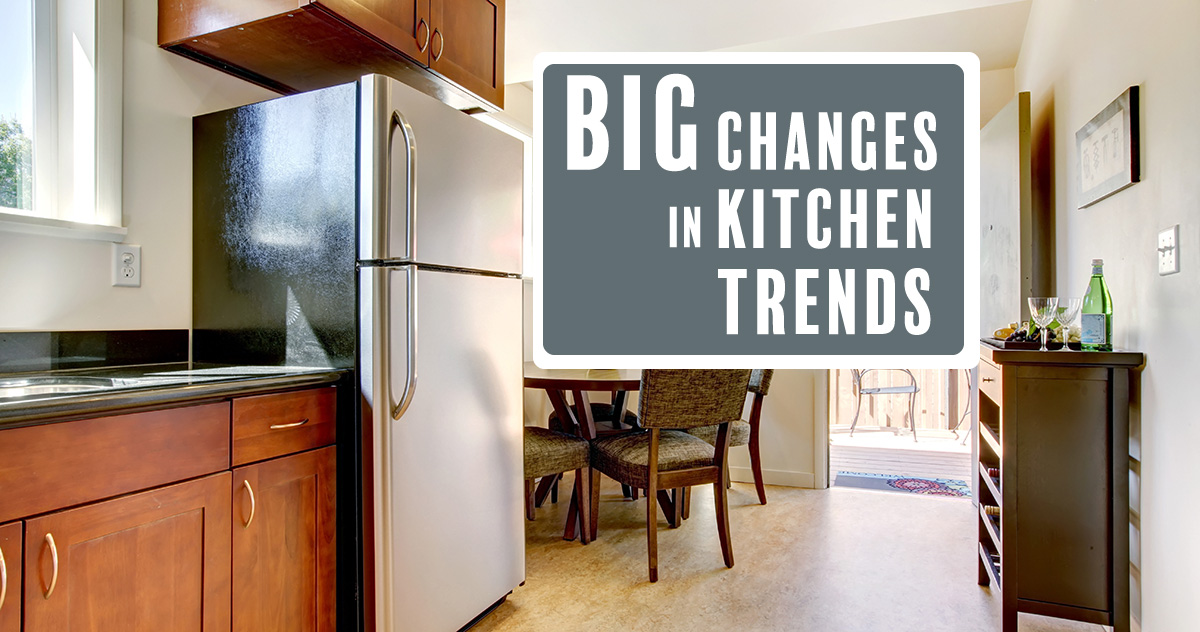
Some of the most consistent kitchen trends are changing this year, which may be upsetting for white kitchen cabinet owners. But don’t worry, there’s are ways to stay trendy on a budget. Here are some of the biggest changes in kitchen trends for 2018.
- White Kitchens are Out
- No More Granite Countertops
- Add Leafy Greens
- Get a Coffee Cart
- Matte Hardware
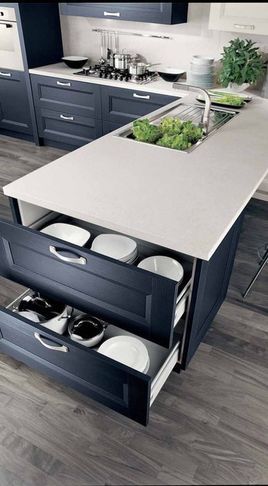
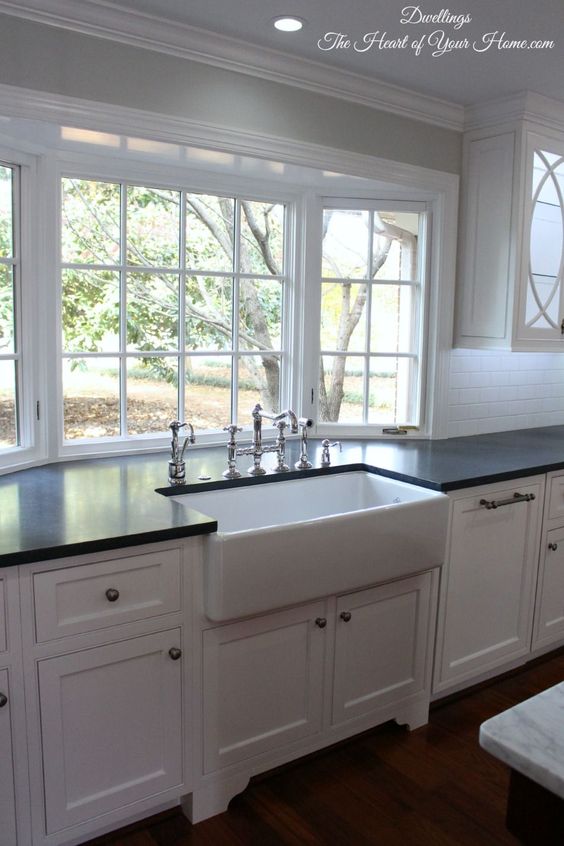
Where before white kitchens were seen as bright, now they are being seen as cold. The new trend is to have light-colored wood cabinets with flat fronts and clean lines. You can reface your cabinets, get new ones, or paint them a trendier color, such as gray, blue or green. Bringing warmth and color back to kitchens is the true desire of getting rid of white kitchen cabinets. In the picture below you can see that you can save some money by only changing out the bottom cabinets.
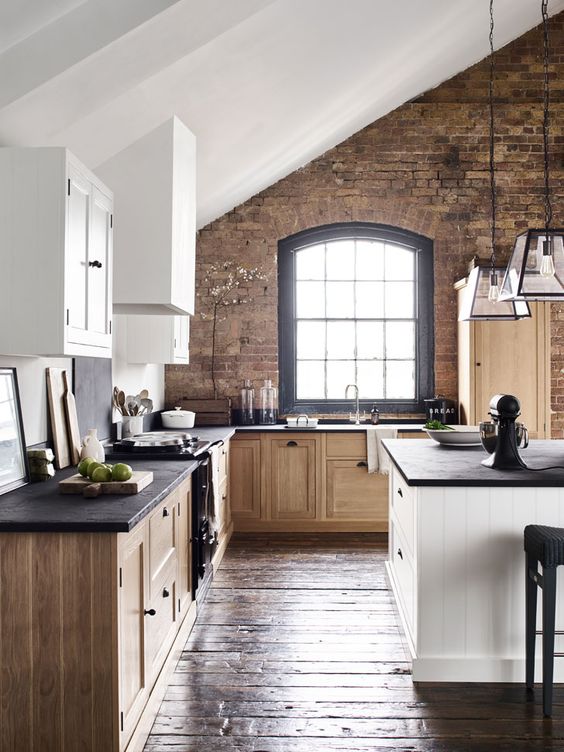
Wood Kitchen Cabinets
Granite countertops are becoming too busy for the kitchen. While some granite doesn’t have as much pattern, most of it has a lot. The trendy thing to do now is to use marble or quartz countertops. Marble is about the same price as granite and some types don’t have to be sealed. Quartz is more pricey but has the benefit of not having to be sealed at all, unlike granite and marble. When choosing your countertop, go with a more simple one with less pattern. This allows you to be creative with the kitchen flooring and backsplash. Some countertop patterns are so subtle that they work as the countertop and the backsplash.
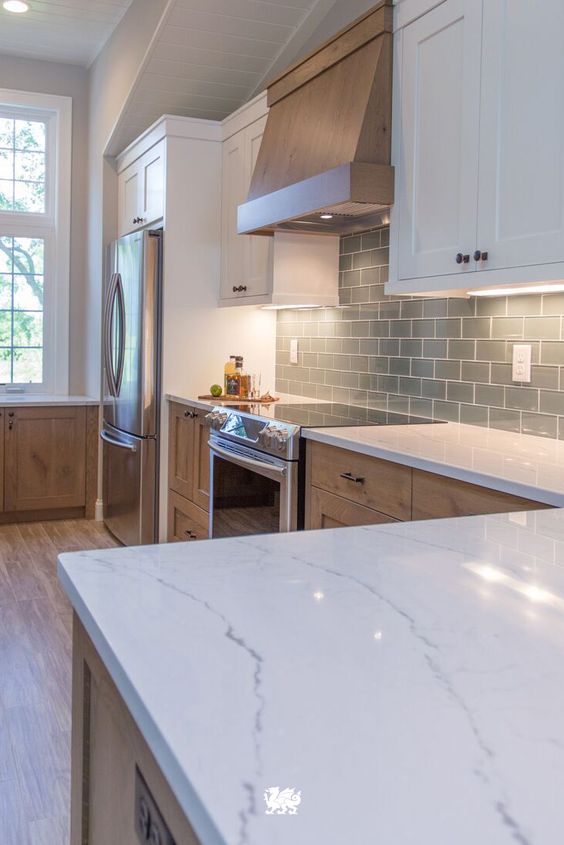
Quartz Countertops
No, I don’t mean spinach and lettuce. Succulents are becoming less popular and ivy and other long leaf plants, like ivy and eucalyptus, are coming back. The long leaves are able to droop around cabinet doors adding even more color. You could make this trendy idea practical as well by planting herbs. Basil, cilantro, and parsley are all beautiful plants that you can use for cooking.
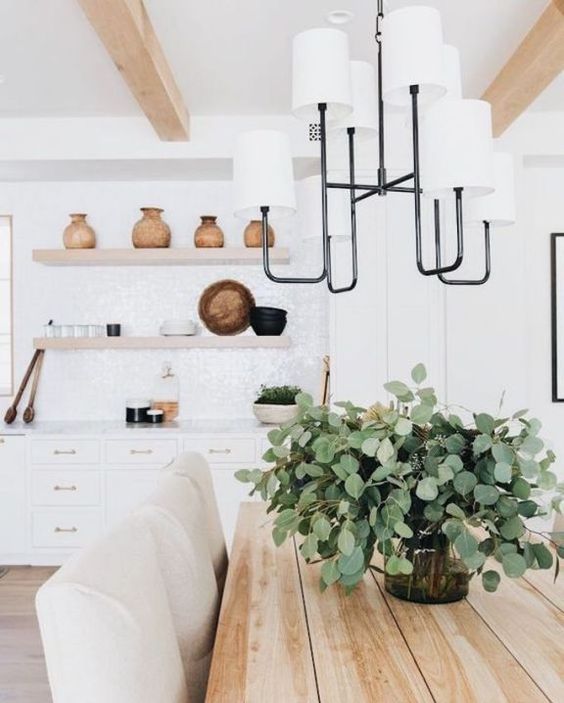
Eucalyptus Plant
Free up some counter space by getting a coffee cart. You can roll it around the kitchen or keep it in a corner. Either way, it adds style and practicality to your kitchen.
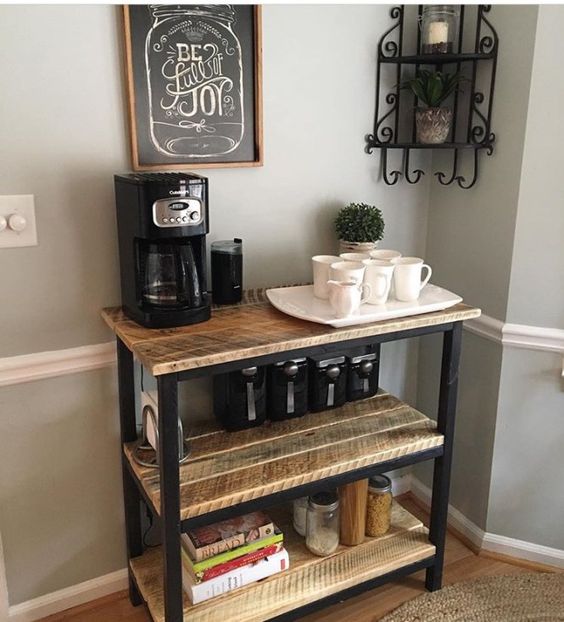
Coffee Cart
Shiny hardware for your kitchen cabinets has always been the go-to, but that is changing. Matte hardware in a dark color is the new trend. The dark color makes your cabinets stand out, whether they are painted or natural wood.
Matte Black Hardware
Sound Finish Professional Cabinet Painting and Refinishing Services
Sound Finish Provides the highest quality cabinet coatings in the industry because cabinet coatings are our primary focus and our specialty. With 20+ years of experience, our unique system paints your kitchen cabinets in 3-4 days!
Learn more and schedule a consultation today!
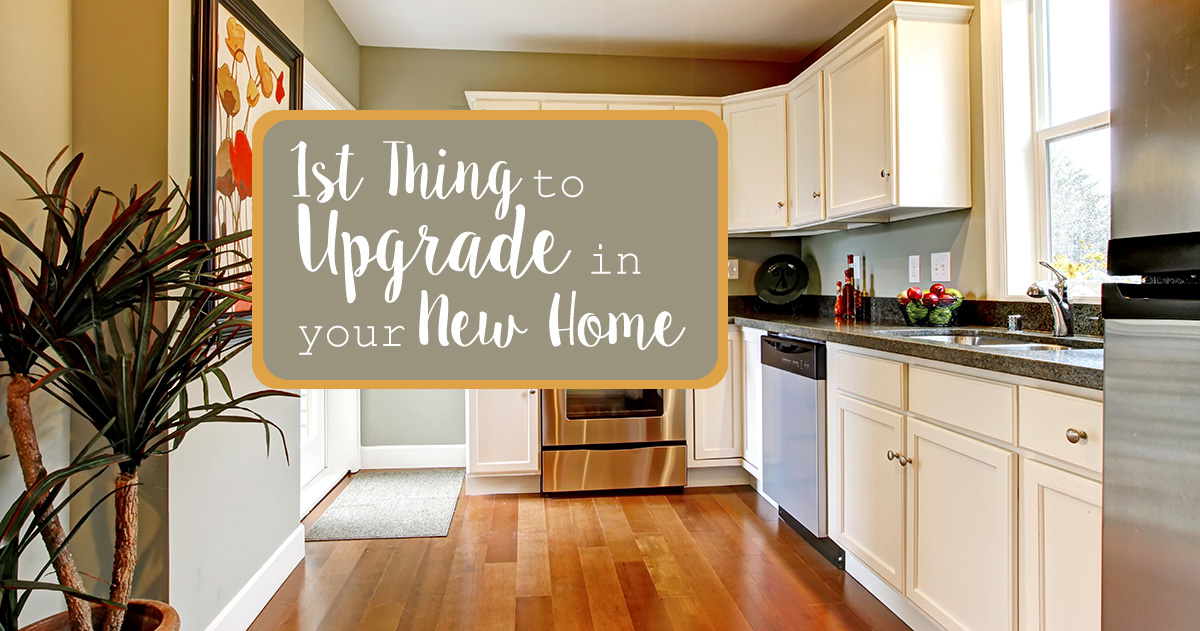
There is one room that can bring you maximum benefits from an upgrade: your kitchen. The kitchen should always be the 1st thing to upgrade in your new home for multiple reasons. Since most new homes are open concept homes, meaning the kitchen and living room don’t have walls between them, families tend to spend a lot of time in the kitchen. When choosing which room to upgrade in your home, it’s likely that you’ll get the most out of a new kitchen. An upgraded kitchen also adds the most value to your home, so if you plan on selling your home someday, the kitchen is the room to upgrade. Here are some things you can do to upgrade your kitchen and improve your home value.
- Paint or Refinish Your Kitchen Cabinets
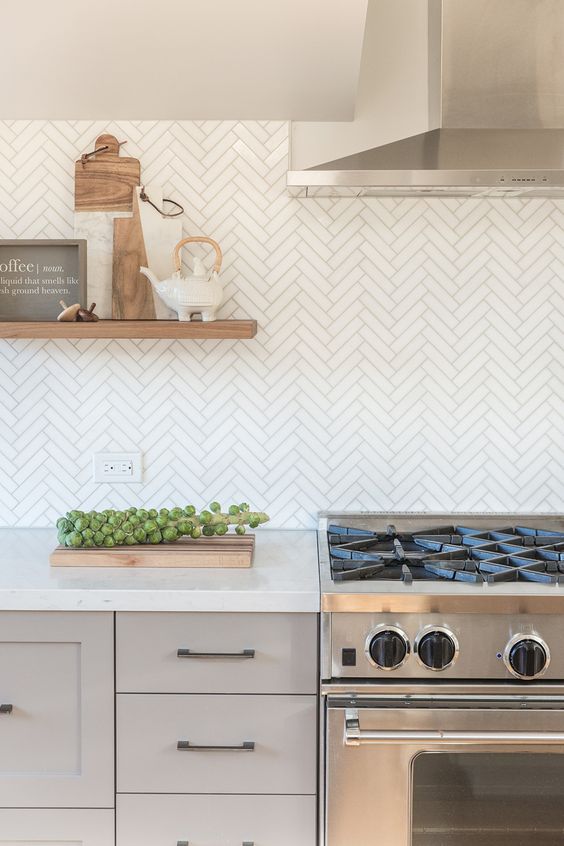
- New Backsplash
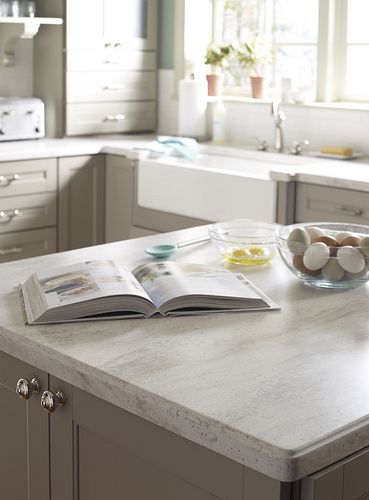
- New Countertops
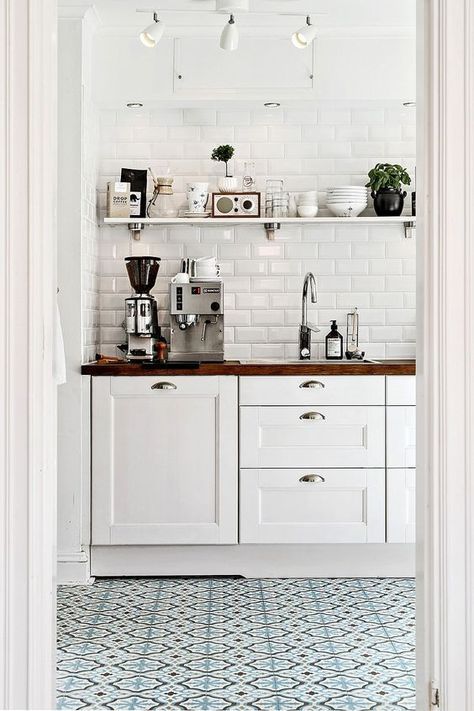
- New Floors
If your kitchen cabinets look old and worn out, paint or refinishing can fix that without breaking your budget. If you like the look of wooden cabinets, refinishing them can really transform your kitchen. The same goes for painted kitchen cabinets. There are so many colors to choose from, whites, grays, blues, and greens have been very popular recently. If you want to save even more money when painting your kitchen cabinets, check out our DIT (Do-It-Together) offer.

While painting or refinishing your kitchen cabinets can make a huge difference in your kitchen, there are other upgrades to consider as well. Adding a new backsplash to your kitchen can give it your unique style. There are numerous options to choose from, like subway tile, mosaic tile, beadboard, or terra-cotta tiles. If you are planning to sell your house, it might help to choose something that is more timeless and neutral.
If you have outdated countertops, then this upgrade can transform your kitchen. There are so many different types of countertops to choose from such as granite, quartz, corian, tile, butcher block, or concrete. What you choose depends on the style of your kitchen. See which countertop option is right for you.
Last but not least, there are the floors to consider. The most popular options right now are patterned floors or wood-looking tile. If you have a plain backsplash, a patterned floor could brighten up your kitchen. If you have a patterned backsplash or countertop, then a simple wood-looking tile could work for your kitchen.
Sound Finish Professional Cabinet Painting and Refinishing Services
Sound Finish Provides the highest quality cabinet coatings in the industry because cabinet coatings are our primary focus and our specialty. With 20+ years of experience, our unique system paints your kitchen cabinets in 3-4 days!
Learn more and schedule a consultation today!
If you’ve just moved into your first home, there are probably a lot of fixes you want to do. But how do you choose which ones to do first? It’s probably a good idea to start with the ones that will add value to your home. So here are a few weekend DIY projects to improve home value.
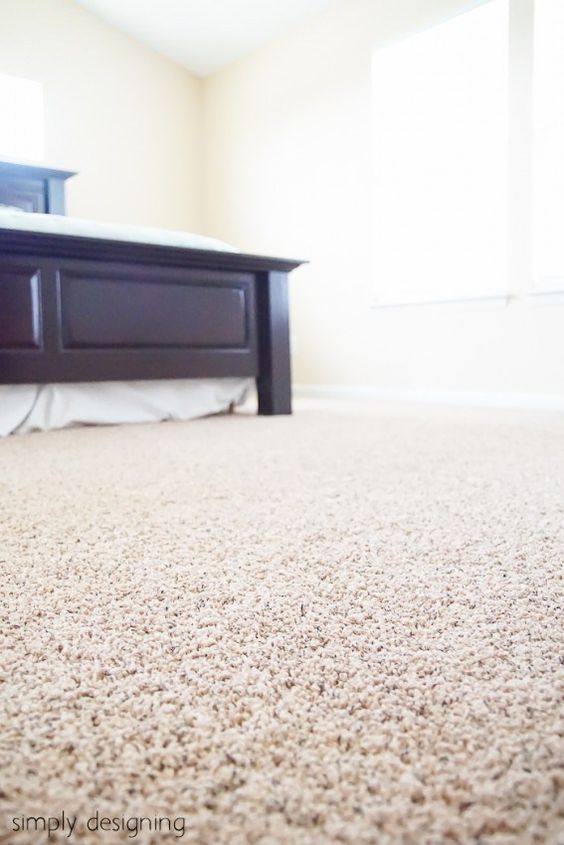
- Replace Worn Carpets
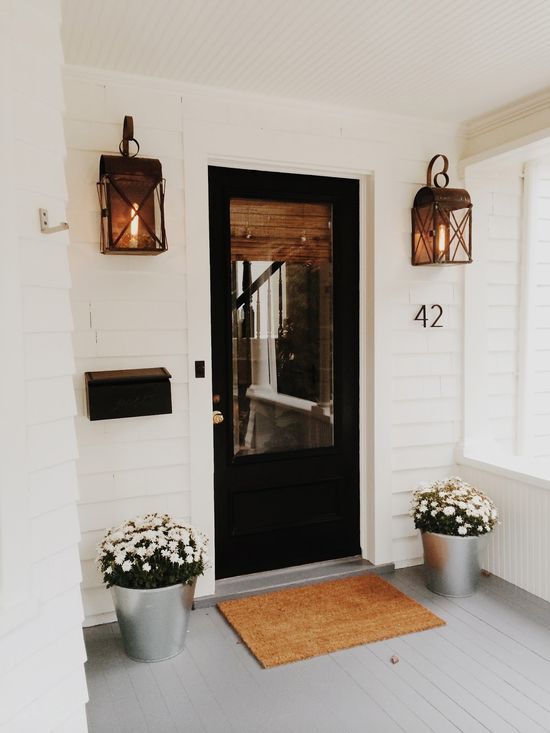
- Spruce up Your Front Porch
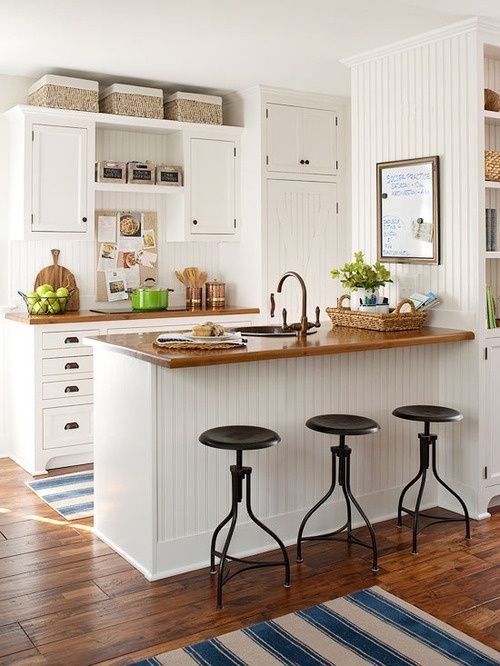
- Install Bead Board
- Install a New Faucet
- Get New Hardware
- Redo Your Backsplash
- Switch to Energy-Saving Windows
No one wants to live with old carpet that has mysterious stains and spots. So replacing the carpet will not only increase value to your home, but it will ensure that the carpet is actually clean. If you want to add even more value to your home, add in hardwood floors or tile instead. It’s easy to clean and you can put an area rug over it if you want the comfort of carpet.
You can spruce up your entrance by painting your front door, adding a bench, planting some flowers, and adding lighting. All of these things will brighten up your porch and make it more inviting.
Beadboard adds texture to your walls. This can be done in bedrooms, living rooms, offices, bathrooms, or kitchens, basically, any room in your house could use some beadboard (just don’t overdo it). Any of these places will add value to your home.
New faucets have multiple benefits. They provide better water pressure and you can make all the finishes the same throughout the house.
Getting new hardware for your kitchen cabinets and drawers can completely restore your kitchen. It’s a small, cheap update that makes your kitchen look newer and can be done quickly.
Redoing your kitchen backsplash also updates your kitchen quickly. There are lots of different types of backsplashes such as tile, wood, or beadboard. You can make it stand out with a popping color or let it blend in with the rest of kitchen. It all depends on your style.
This one might take more time than a weekend but your energy bill will be much lower. Energy saving windows keep out the cold and heat making your heater or AC work less. New windows also brighten up an old home.
Sound Finish Professional Cabinet Painting and Refinishing Services
Sound Finish Provides the highest quality cabinet coatings in the industry because cabinet coatings are our primary focus and our specialty. With 20+ years of experience, our unique system paints your kitchen cabinets in 3-4 days!
Learn more and schedule a consultation today!